Some people spend dozens of hours in video editing. That’s an awful lot of time to take out of your business.
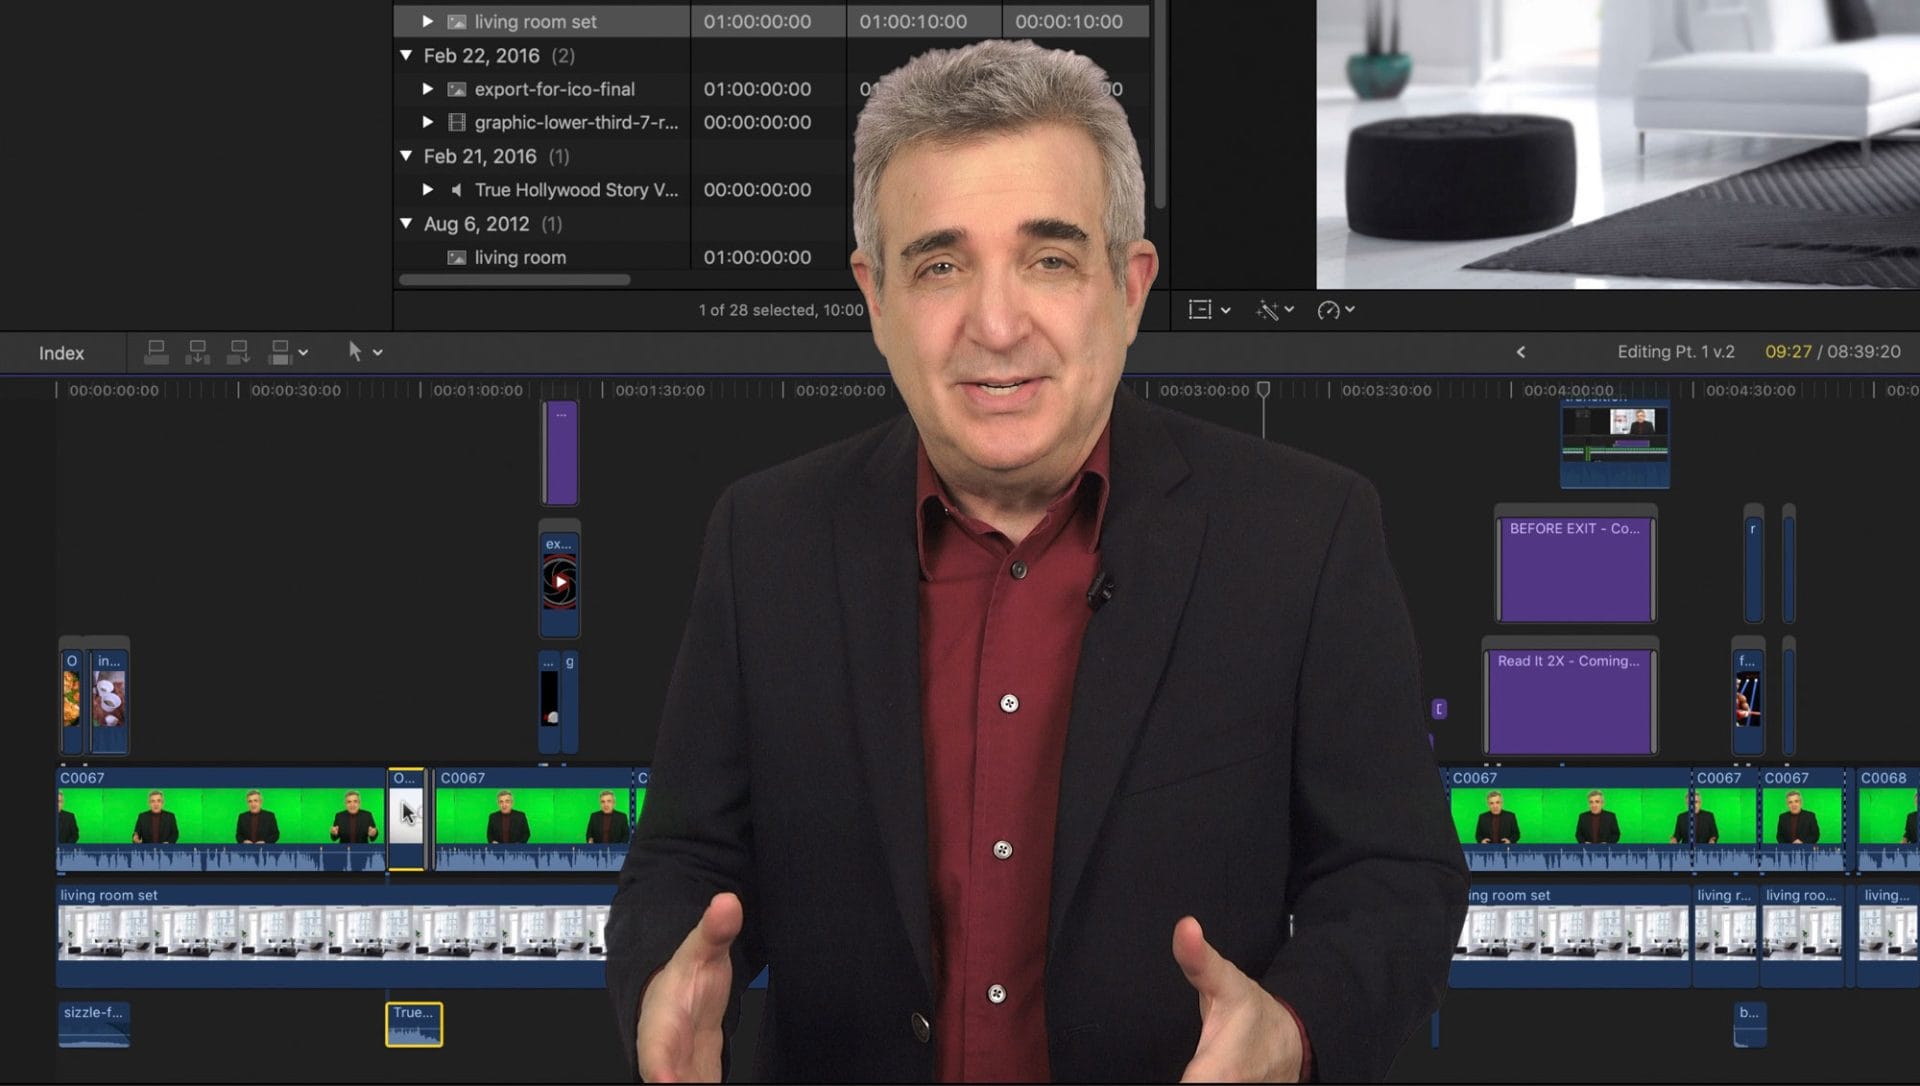
In this video you’ll see how to take all the elements we’ve been talking about and blend them together on the timeline to create our on-camera video.
We have two purposes:
- Maintain high quality
- Cut down the time it takes to edit by 40%
The high quality is important because it’s yourself you’re putting on camera, or someone in your organization. And why put yourself on camera (which is such a good idea for so many reasons) and then not put your best foot forward?
Secondly, saving time is what everyone wants. It’s what I want, too. That’s why I worked this out over several years.
Now you can have it. Plus see what the greenscreen looks like in 4 editing programs…
If you haven’t watched the first 2 videos in this series, it would be best to watch them first. Here’s the first and here’s the second.

7 replies to "How to Edit Your On-Camera Videos"
You did it again. Lot’s of content to bring this series all together in a flowing, fascinating, thought-provoking package!
Thank you for the kind words. Especially “fascinating”! 🙂
Great info as usual Steve. I shoot using green screen and backdrops and, after watching your video on composition, started using jump cuts. That’s when I noticed that it was obvious that the backdrop must be zoomed as well as the video footage. That turned out to be more of a challenge than expected. Your videos, of course, zoom the background in your close-ups and look natural. Do you use a formula of some kind as far as a zoom percentage or something? Here is a link to my first attempts at this. https://www.youtube.com/watch?v=spT7qzE0OJc&t=1s
Great question. This is something almost everyone has problems with. This is the one time when it’s a good idea to watch a movie or TV show shot on film (or what is designed to look like film). You’ll notice that when they’re in a long shot with a normal lens (50mm), the background is mostly in focus. Then when you go to a closeup, the lens changes to something like 85mm and throws almost the entire background out of focus except for what is closest to you.
Now the challenge is to make your background do that. Most blur filters can’t. It’s usually an all-or-nothing kind of thing, but if you are using Premiere or Final Cut you can get a “focus blur” plug-in and choose the areas of your background that stay in focus and go out of focus and by how much. How much is relative to the shot size, though, so you have to pay attention to how big or small you are on the screen. The smaller your eyes, the more in-focus the background is. And vice-versa.
As for your video, it’s a great start and you’re quite good on camera! Just make your shot size changes more obvious before you start changing the background.
Thanks for the reply and feedback on my video Steve. I noticed I had some timing issues in some of the cuts. Next time I will do as you did and cut the background at the same time as the shot footage. I use Sony Vegas as an editor and will have to play around with the blur effect to see if it can be manipulated to only affect a portion of the background.
What are you using to create your titles—animated or not—and your lower third graphics?
That’s one of the great things about the editing program. There are so many plug-ins being written for it. I used one from LenoFX for the bullet points. However, I used templates for After Effects for the lower third and intro.